Are you wondering why your email deliverability rates have suddenly dropped?
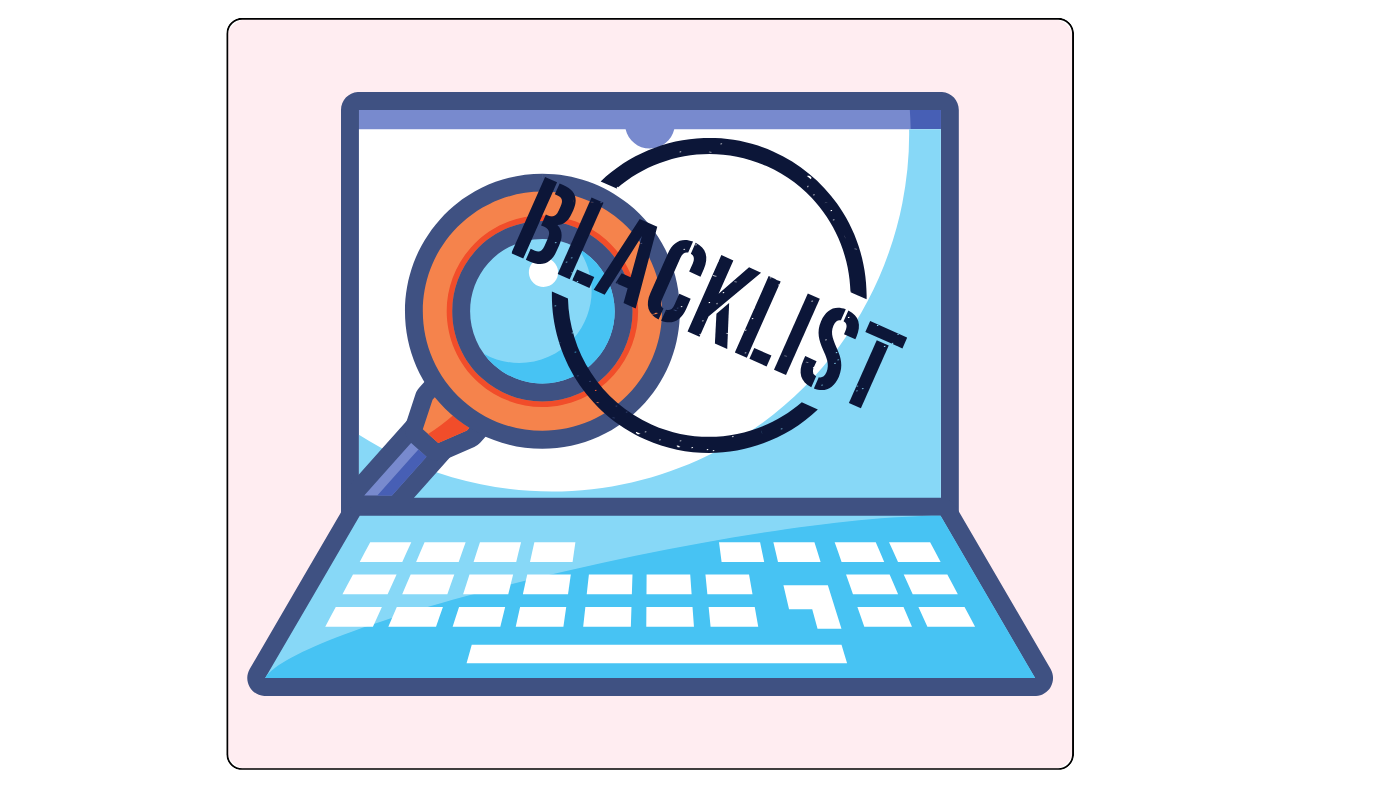
You may be experiencing the worst nightmare of every email marketer: a blacklisted domain.
If your domain gets blacklisted, your email sender reputation check can suffer significantly, and your emails might not even reach the inbox of your intended audience.
This could lead to the loss of valuable business opportunities and customers.
But don’t panic just yet! Although domain blacklisting can be a serious issue, detecting and addressing it doesn’t have to be complicated.
In this guide, we’ll cover everything you need to know about email blacklist check, including tools to check if domain is blacklisted.
You’ll learn what your blacklist results mean and, most importantly, how to remove your domain from a blacklist if it gets flagged.
Let’s dive into the essential steps to check if domain is blacklisted and explore actions you can take to maintain a healthy sender reputation.
Understanding Email Blacklists

What is an email blacklisting and why it matters
An email blacklisting is a real-time database of IP addresses and domains that are suspected of sending spam or malicious emails.
Internet Service Providers (ISPs) and email providers use these lists to protect their users from unwanted or harmful messages. When your domain appears on a blacklist, your emails may be blocked or marked as spam.
Common Reasons For Blacklisting
Let’s take look into the common reasons for email blacklisting:
- Sending bulk emails without proper authentication
- High spam complaint rates from recipients
- Compromised email accounts or servers
- Poor email list hygiene
- Sudden spikes in email volume

Impact on email deliverability
Being on an email blacklist can seriously harm your email campaigns. Here’s how it affects email delivery in simple terms:
Fewer emails reach inboxes – Many of your emails may not get delivered.
More emails go to spam – Instead of the inbox, your emails end up in the spam folder.
Lower sender reputation – Email providers start seeing you as untrustworthy.
Business impact – Fewer people see and engage with your emails, reducing sales and conversions.
If your domain gets blacklisted, your email delivery rate could drop from 90% to as low as 25%. This means even important business emails might not reach your audience.
Now, let’s look at tools to check if your domain is blacklisted.
Popular Blacklist-Checking Tools
Several reliable tools can help you determine check if domain is blacklisted. Here’s a comprehensive overview of the most effective blacklist-checking tools available:
1. MXToolbox Blacklist Check
You can quickly check your domain against more than 100 blacklists using MXToolbox. Simply enter your domain or IP address, and you’ll receive instant results.
The tool provides detailed information about:
- Current blacklist status
- Historical blacklist data
- Reason for listing (if applicable)
- Domain Blacklist Removal instructions
2. MultiRBL
MultiRBL offers a free, comprehensive check against multiple DNS-based blackhole lists (DNSBLs).
Key features include:
- Real-time blacklist monitoring
- IPv4 and IPv6 support
- Domain and IP checking capabilities

3. Sender Score
This tool gives you more than just blacklist details. Here’s what you’ll get:
Reputation Score – A rating from 0 to 100 that shows how trustworthy your email-sending reputation is.
Volume Tracking – Keeps an eye on how many emails you’re sending and detects unusual patterns.
Industry Comparison – See how your email performance compares to others in your industry.
Blacklist Status – Find out if your domain is currently listed on major blacklists.
4. Google Postmaster Tools
As a free service from Google, this tool offers valuable insights into:
- Domain reputation
- IP reputation
- Authentication results
- Spam complaints
These tools complement each other, and using them in combination gives you the most comprehensive view of your domain’s blacklist status.
Now that you understand the available tools, let’s explore how to perform an actual blacklist check.
How to Check if Domain is Blacklisted
Identifying Your Sending IP Address
Before performing a check if domain is blacklisted, you’ll need to identify your sending IP address. Here’s how you can find it:
- For Windows users: Open Command Prompt and type “ipconfig“
- For Mac/Linux users: Open Terminal and type “ifconfig“
- For web-based checks: Visit whatismyip.com or similar services
Gathering Domain Information
Gather these important details about your domain:
Domain name – Your website address (e.g., yourdomain.com).
Mail server hostname – The name of the server that handles your emails.
MX records – Directs where your emails should be delivered (e.g., mail.yourdomain.com).
SPF records – Verifies which mail servers can send emails on your behalf (e.g., v=spf1 ip4:192.0.2.0/24 -all).
DKIM records – Ensures email authenticity by adding a digital signature (e.g., selector._domainkey.yourdomain.com).
These records help improve email security and deliverability.
Running Multiple Blacklist Checks
To ensure comprehensive results, check if domain is blacklisted more than once:
- Use multi-RBL checkers like MXToolbox or MultiRBL
- Check major blacklists individually:
- Spamhaus
- Barracuda
- SORBS
- SpamCop
- Document all results for analysis
Run checks on your domain name and IP address for the most accurate assessment.
Remember to save the results, as you’ll need them to understand your blacklist status and determine necessary actions for removal if issues are found.
Now let’s examine what these blacklist results mean and how to interpret them correctly.
Interpreting Blacklist Results

Understanding Different Blacklist Types
Each blacklist serves a specific purpose in email security. Here are the main types you’ll encounter:
- DNS-based Blacklists (DNSBLs)
- URI Blacklists (URIBLs)
- Domain-based Blacklists
- IP-based Blacklists
- Policy Blacklists
Understanding Severity Levels
The severity of being blacklisted depends on which lists your domain appears on:
Critical – Listed on multiple major blacklists, causing emails to fail completely.
High – Listed on one major blacklist, leading to serious delivery issues.
Medium – Listed on smaller blacklists, resulting in some delivery problems.
Low – Listed on new or regional blacklists, with little impact on email delivery.
The higher the severity, the more urgent it is to take action.

False Positive Identification
You can identify false positives by checking these key indicators:
- No recent changes in sending patterns
- Clean sending history
- No spam complaints
- Valid authentication records (SPF, DKIM, DMARC)
Impact Assessment
Evaluate your blacklisting impact by monitoring:
- Delivery rates
- Bounce rates
- Spam placement rates
- Regional email delivery success
Documentation Requirements
Maintain records of:
- Blacklist check results
- Timeline of incidents
- Communication with blacklist operators
- Resolution steps taken
- Prevention measures implemented
When dealing with critical or high-severity listings, you must act quickly to email deliverability tests.
The impact of blacklisting varies depending on which blacklists have flagged your domain and their reputation in the email community.
Now that you understand how to interpret your results, let’s explore the steps to resolve these blacklist issues.
How To Remove Domain from Blacklist

Contacting Blacklist Providers
To check if domain is blacklisted, you’ll need to contact the specific blacklist provider. Each provider has their own process for communication and delisting.
Here’s what you should include in your initial contact:
- Your domain name and IP address
- The date you discovered the listing
- Steps were already taken to resolve spam issues
- Your commitment to maintaining good email practices
Submitting Delisting Requests
Most major blacklist providers offer a self-service delisting process through their websites. Follow these essential steps:
- Locate the provider’s delisting page
- Submit required documentation
- Provide detailed explanations of fixes
- Follow up within recommended timeframes

Implementing Required Fixes
Before asking to be removed from a blacklist, make sure you’ve fixed the root problems:
Open Relay: Secure your SMTP servers to prevent unauthorized email use.
Compromised Server: Remove malware and update security settings.
Poor Authentication: Set up SPF, DKIM, and DMARC to verify your emails.
Spam Complaints: Clean up your email lists and improve your email content.
Fixing these issues helps prevent future blacklisting and improves email deliverability.
Prevention Measures
To avoid future blacklisting, implement these preventive measures:
- Monitor your sending reputation regularly
- Maintain clean email lists with proper validation
- Use double opt-in for new subscribers
- Keep your server security up to date
- Set up automated monitoring for blacklist appearances
Now that you understand how to remove domain from blacklist, it’s crucial to maintain these practices consistently to ensure your domain’s long-term email deliverability success.
Conclusion
Email blacklists can significantly impact your email deliverability and sender reputation.
By understanding how blacklists work and regularly monitoring to check if domain is blacklisted or the domain’s status using reliable checking tools, you can maintain a healthy email-sending environment.
When you detect a blacklisting issue, prompt action through proper delisting procedures and improved email practices will help restore your domain’s reputation.
Your ongoing commitment to email best practices is crucial for avoiding future blacklisting incidents.
Take proactive steps by implementing proper authentication protocols, maintaining clean mailing lists, and monitoring your sending patterns.
Remember, maintaining a strong sending reputation ensures your emails reach their intended recipients and achieve your communication goals. Additionally, check if domain is blacklisted.